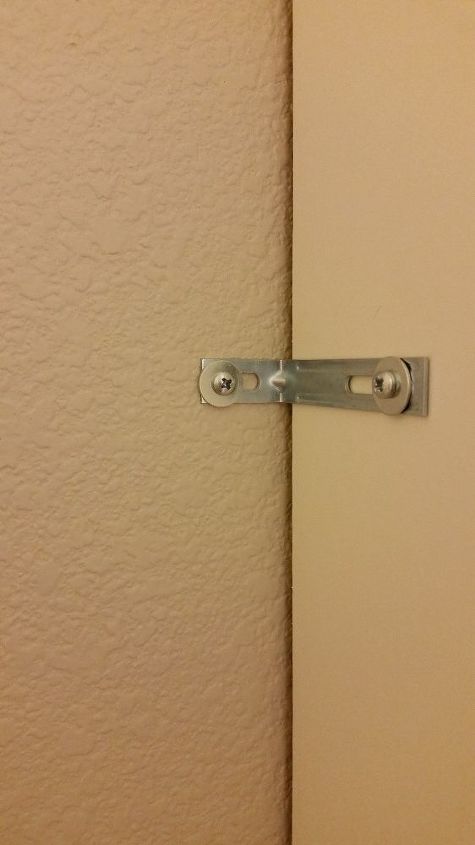
 Then I realized I can not put the neighboring bookcase flush to the wall as the bracket screw was in the way. So I took it off and used 1/4 inch plywood pieces to space them off the wall. Did that at the bottom and at the top. Also I was using a level to make sure everything lines up.
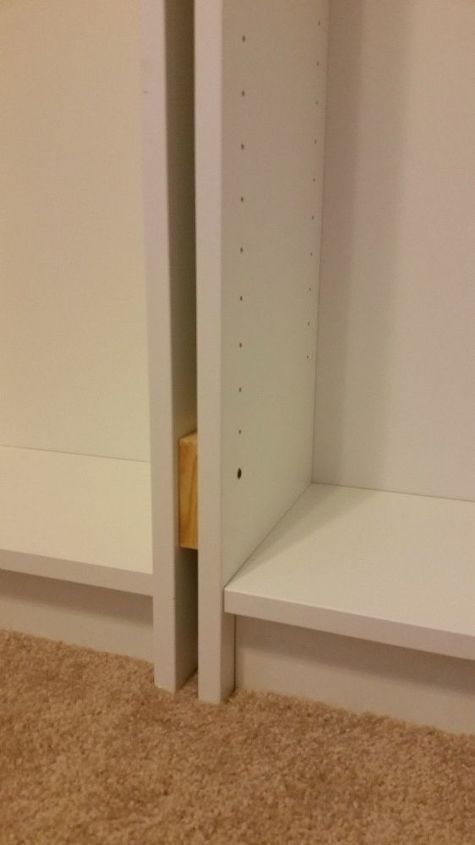 Considering the spacing, the moldings I picked etc. I needed a 3/4 inch gap between the cabinets, so I just used leftover 1×4 pine and screwed the sides together on the bottom and on the top. Then that one got an “L” bracket as well.
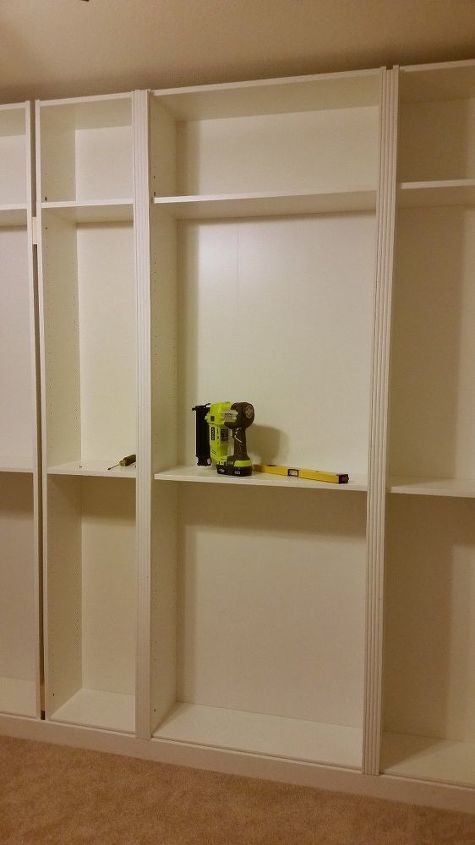
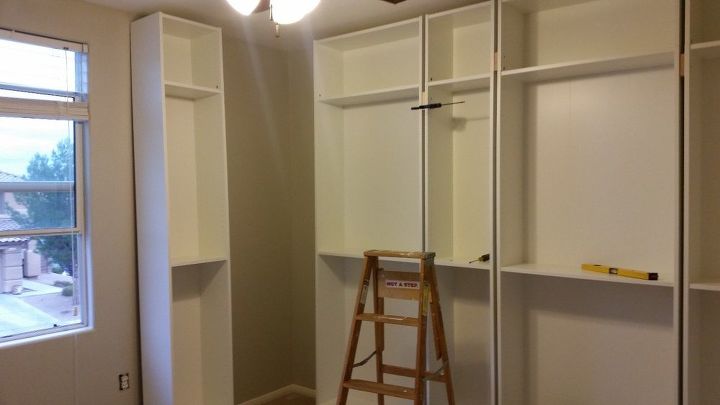 I did all 5 pieces in the morning, They are super sturdy, not going anywhere for sure. Then I ran to Home Depot to get the baseboard, casing and crown molding, also color matched a quart of paint to the shelf’s color.
Then I took my miter box upstairs and did every cutting by hand. I used a dremmel tool to cut out the wall’s baseboard to make room for the bookshelf baseboard. Then added the middle casing, and finished up with the crown.
I also added some shoe moldings over the gaps that were between the baseboard and the first shelves.
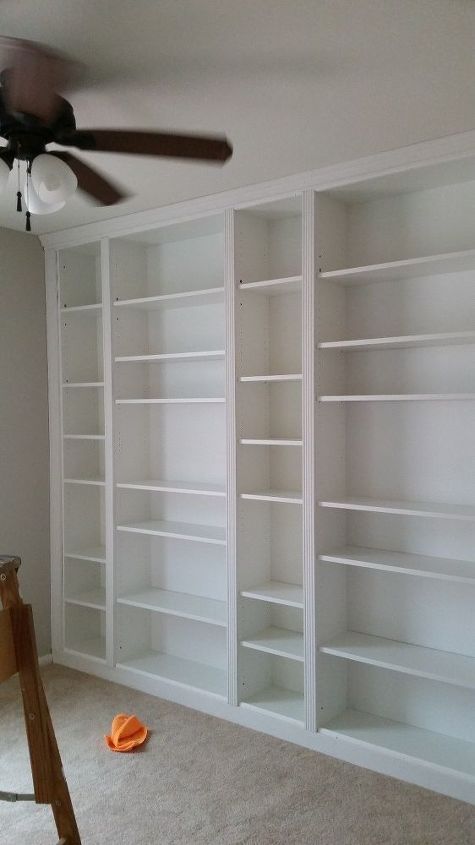 This took up my afternoon. The next day I was off again, this is day 5, I filled every nail holes and caulked every bit of gaps to create a professiona,l built-in look. I then painted the moldings around the whole library wall.
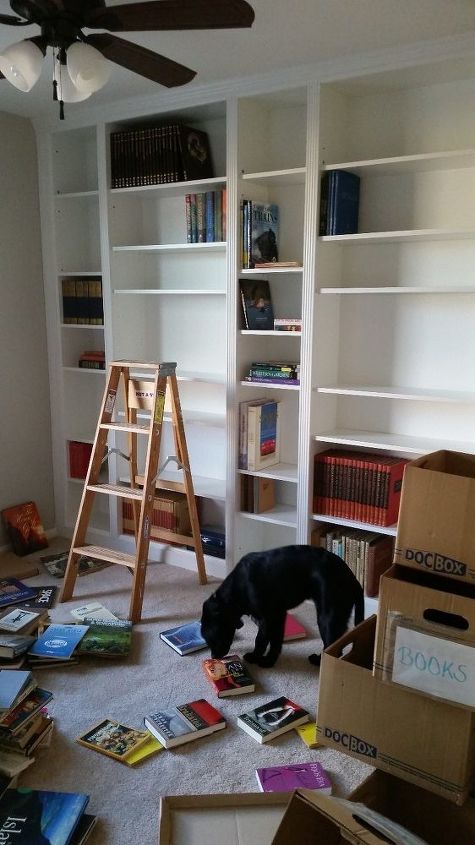
Then in the afternoon, with a little bit of help I started to un-box the poor books that had been sitting untouched for 3 years and started to fill up the shelves. I didn’t realize that we have so few books :-0 So now I get to buy all kind of decorations to fill the whole wall. 🙂 Exciting 🙂
Here is the right now, I still have to cover the pre-drilled shelf holes and add some decoration, but this is how it looks right now 🙂 I am so prod of it! All by my-37yearoldwoman-self!
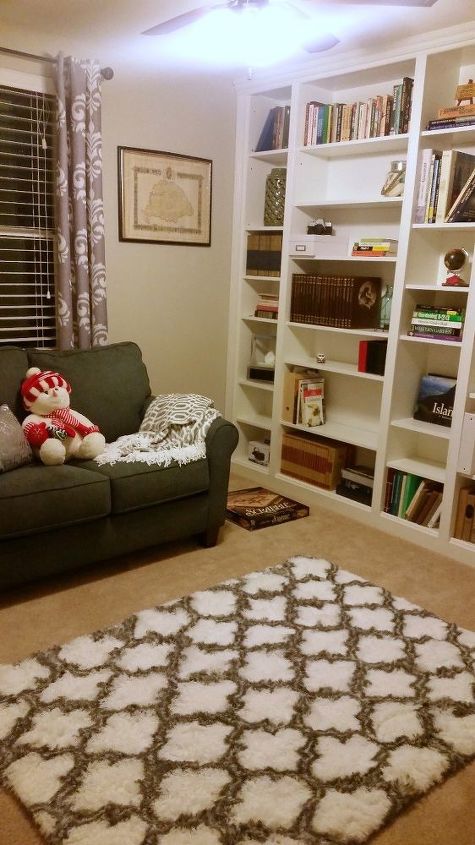 Sorry for the color of the picture, it was taken at night and can’t really adjust the colors. Anyways, that is IT! 🙂