 Step 2, Addressing the Height Issue…
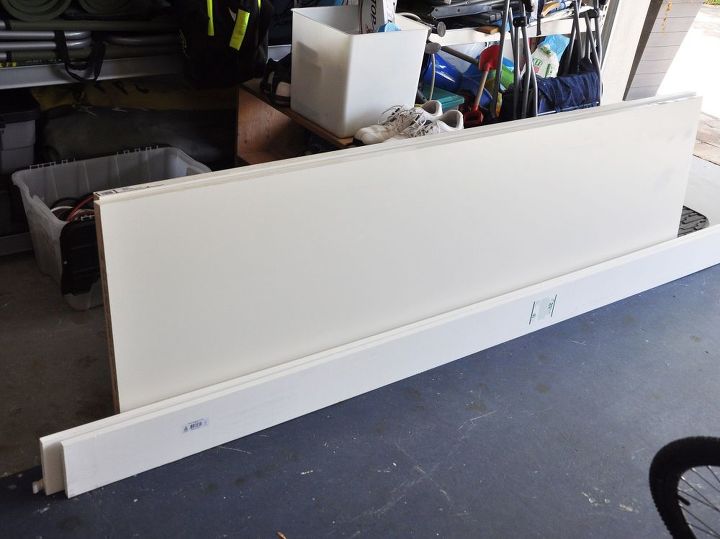
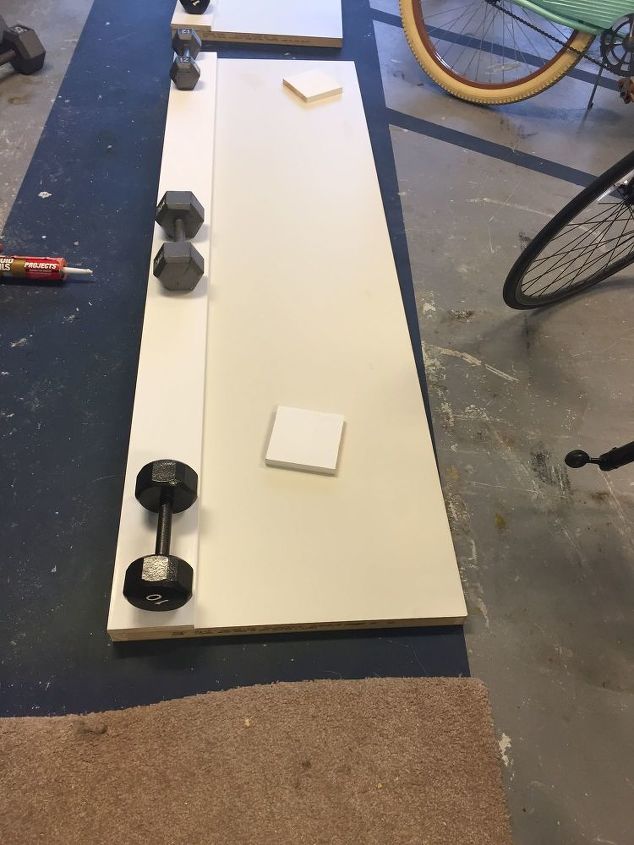
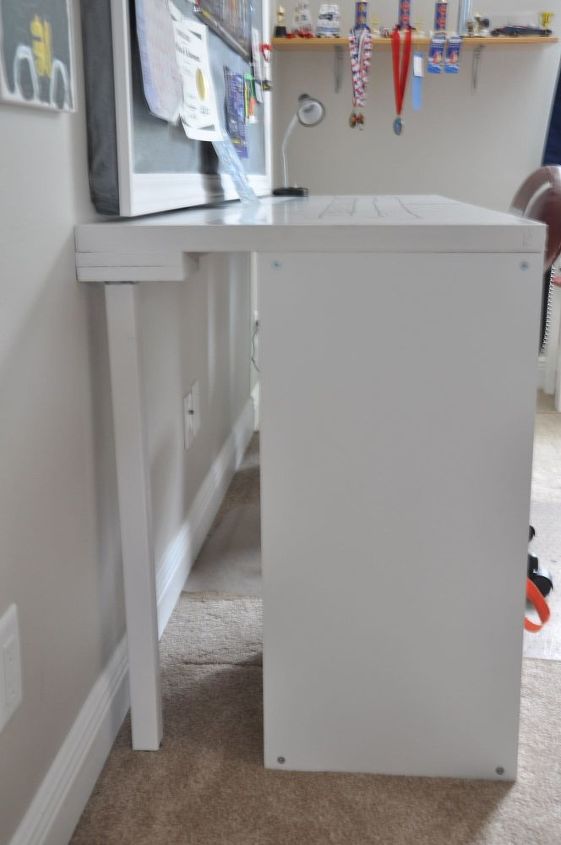
The cubes are 14 inches deep and 30 inches high, and the hollow core door/desk top is 24 inches deep, so we decided we needed some table legs to hold up the back. They don’t make table legs that are 30 inches high, or at least any that we could find, so we purchased the 28″ size. Since we needed to add 2 inches in height so the legs would reach the floor, we ended up buying 2, 1″ x 4″ x 96″ boards. We cut them down to 80″ and then glued them to the door using this wood glue. See below…Then we put some weights on them and let them dry overnight. (They did have 36″ table legs that we could have bought and then cut down to 30″, but we choose to do it this way instead. We thought the extra wood would hold the table leg brackets better, rather than just screwing them into the hollow core door.)
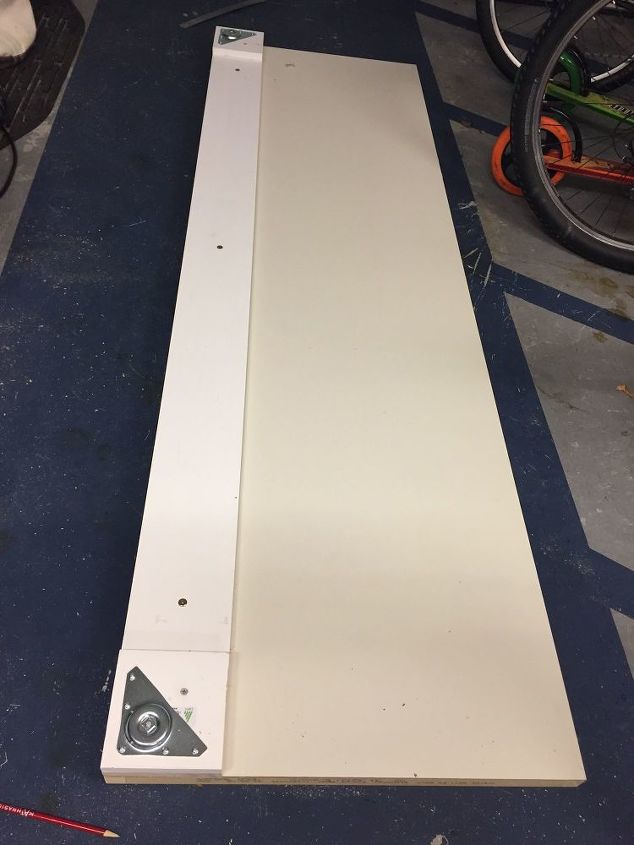
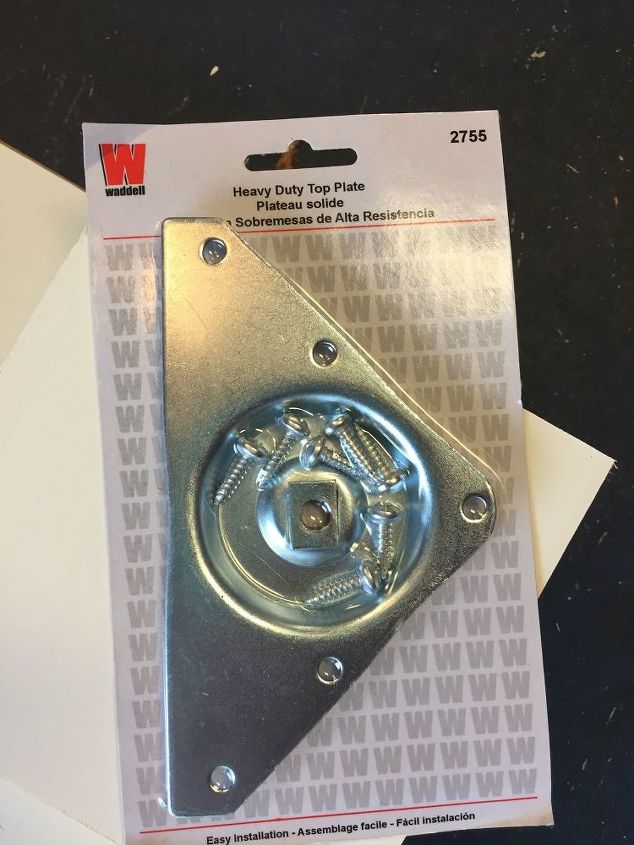 We still needed one more inch to make it 30 inches high, so we cut 4″ x 4″ pieces using the left over wood from the previous step and then glued those to the corners and installed the brackets for the table legs. We also put some screws in, as you can see below just to reinforce the board.
 Step 3, Painting…
Paint the doors and the table legs. I decided to keep it simple and just paint them white. After I painted, I sealed everything with Minwax Polycrylic Satin Water-based Polyurethane. I used 3 coats. Everything dried so fast since I was working in my extremely hot 92 degree garage.

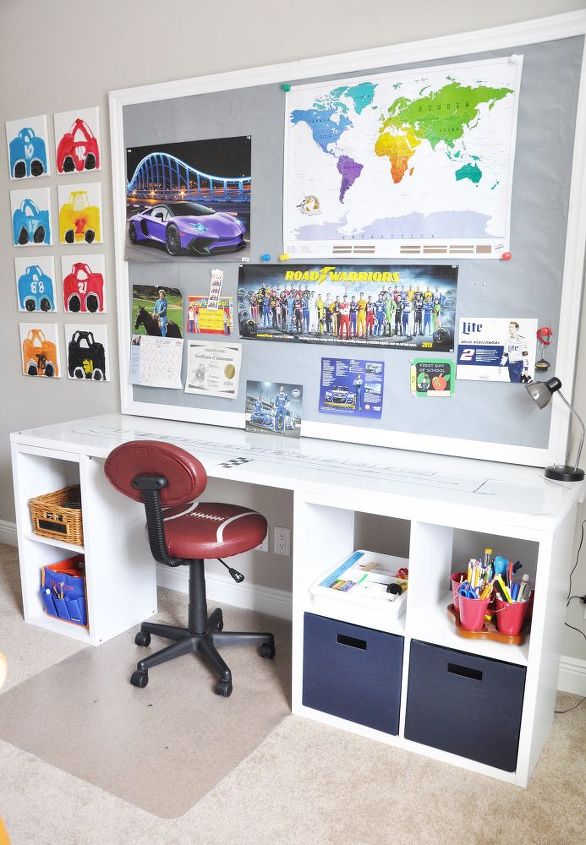
Once everything was dried and sealed we brought all the pieces up to the kids rooms to assemble them. We glued the cubes to the bottom of the doors and then let them dry for about 4 hours. Then we screwed in the legs and carefully flipped the desks over and placed them where we wanted them.
 Step 5, The Finishing Touches…
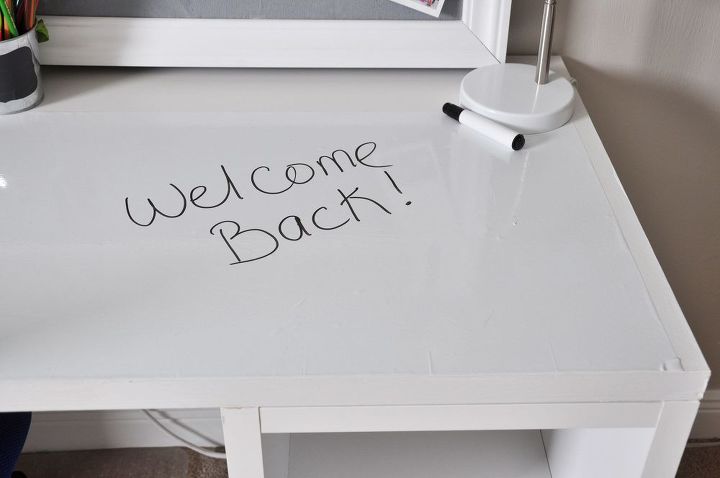
This was my favorite step! I found these peel and stick rolls of white board paper on Amazon. They measure 78.74″ x 17.7″ inch which is a tad smaller than the door/desk top which is 24″ x 80″ which was fine with me. I carefully stuck them to the top of the desk making sure to get rid of any bubbles, and my son quickly got to work drawing a race track. He can erase and re-do as he wishes! Pretty cool huh? Or, when school starts back up they can use them for solving math problems or whatever homework they are doing.
 Please visit my blog for many more DIY projects.
Want more details about this and other DIY projects? Check out my blog post! GO