
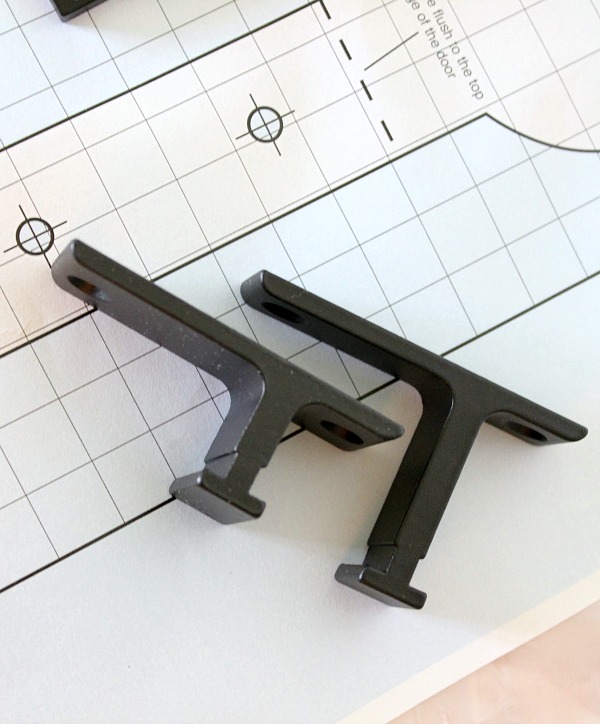
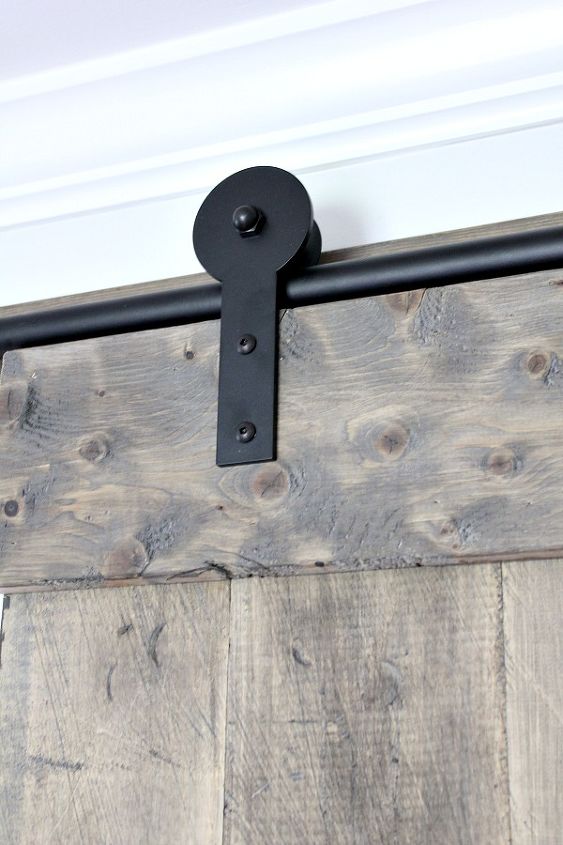
 The Rolling Barn Door kit came with short brackets to hang the door, but I originally planned on hanging the rolling bar directly on my wall, which meant we needed the long brackets to clear the door frame, so I ordered the longer brackets, which are sold separately.
But then, this happened.
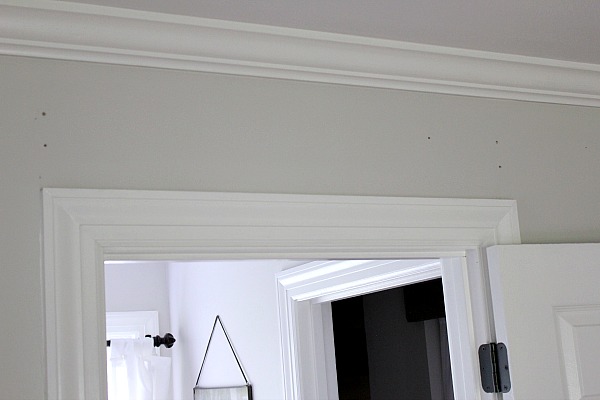 See all those tiny holes? See that ginormous space between those holes?
That’s where the studs are – and notice there aren’t any studs over the door.
We were concerned that the span between the studs wouldn’t hold the weight of the door. It baffles my mind that there isn’t a stud in the header, and I was so upset that I couldn’t go with my original plan. So, Plan B was quickly concocted and I had to use a board that I was going to use for the closet as a mounting bracket for this door. So I had to go back to the staining table, but opted not to distress this board.
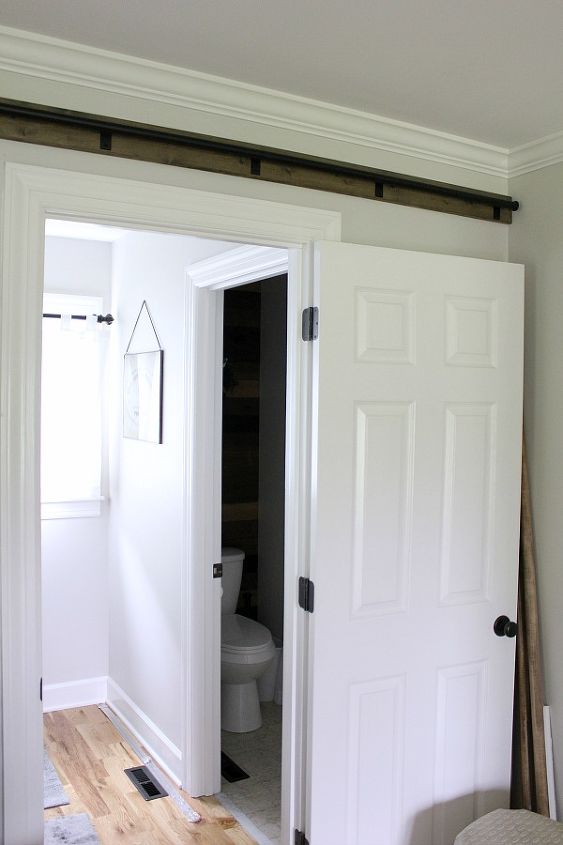 After I stained it to match the door, we attached it to the studs.
Now we felt it was secure enough to hold the weight of the door, so we installed the sliding bar. We removed the door and started assembling the barn door.
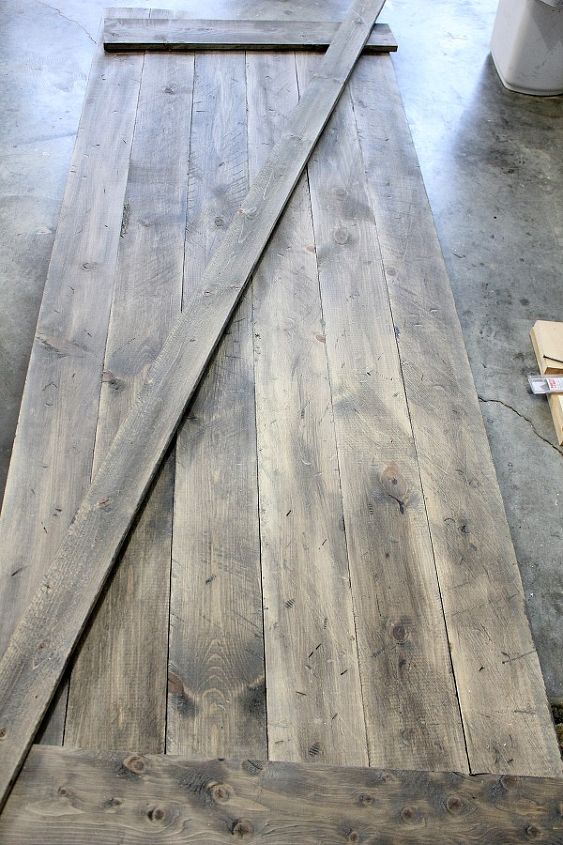
 Our door is 33 inches wide and 87 inches tall. Now here’s where another surprise happened. I wanted the boards to be attached with screws, but we realized that the screws we purchased were too long and would poke through the other side. So, my husband had a genius idea to try our pneumatic nail gun.
It worked! And no trip to the hardware store was needed!
No screws, no glue, just pop, pop, pop of the nailgun and it was super secure.
It was so simple!
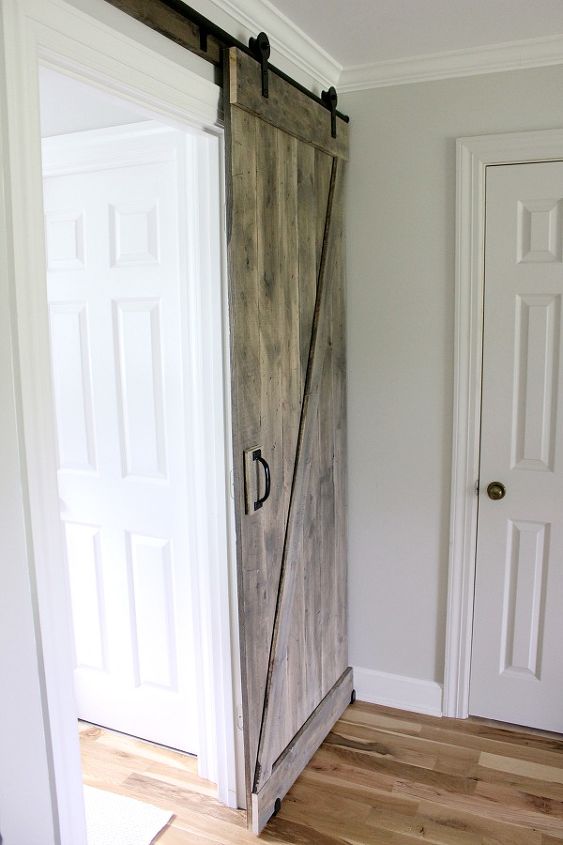
Next we installed the floor hardware – the door stops and guide track. This keeps the door from swinging out.
I have to be honest and say that it hurt my feelings a bit drilling holes into our new Hardwood Floors that we worked so hard on, but it is so necessary to have those in stops and guides in place and once we were finished – I quickly forgot about those tiny screws in my floor!
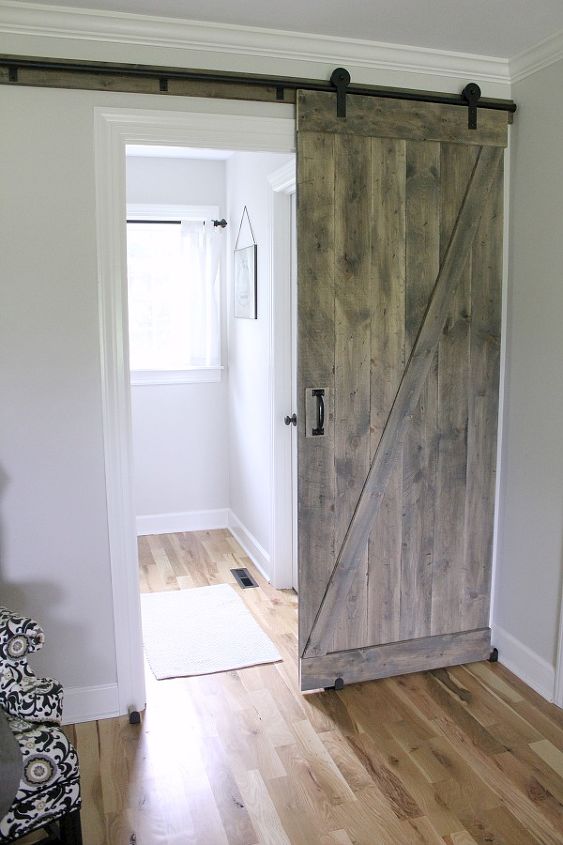 The last thing we had to install were the door handles. Such a stunning transformation!
I just love my DIY Barn Door and I can’t get over how easy it was converting my old bathroom door into this beauty! And to see the full reveal of our Master Bedroom, click here!
Want more details about this and other DIY projects? Check out my blog post! GO