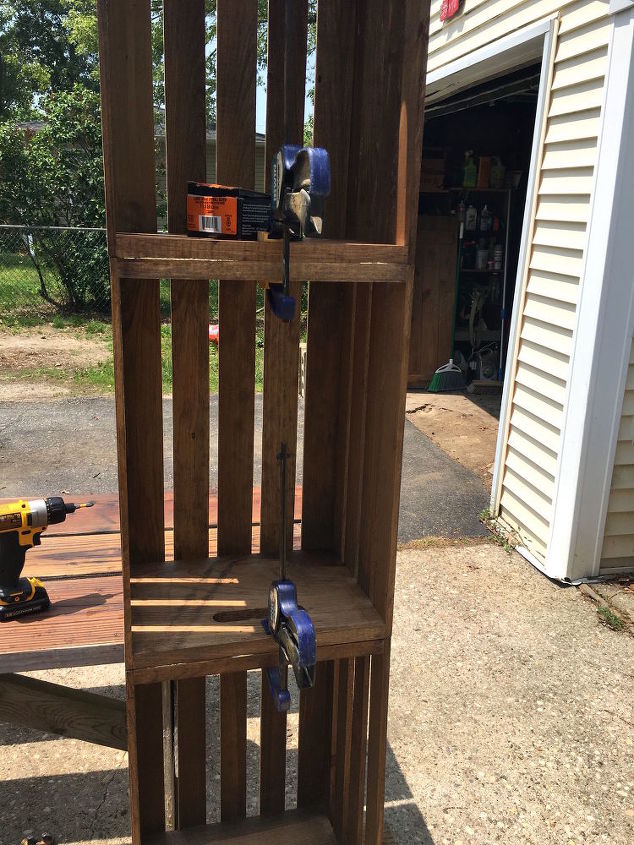
 STEP 3: Screw Your Crates Together While your crates are stacked, drill screws on the bottom of each crate (except the very bottom one, of course). *Note: when you see the crates stacked, you’ll want to drill the screws on the bottom (underneath) side so you can’t see the screws.
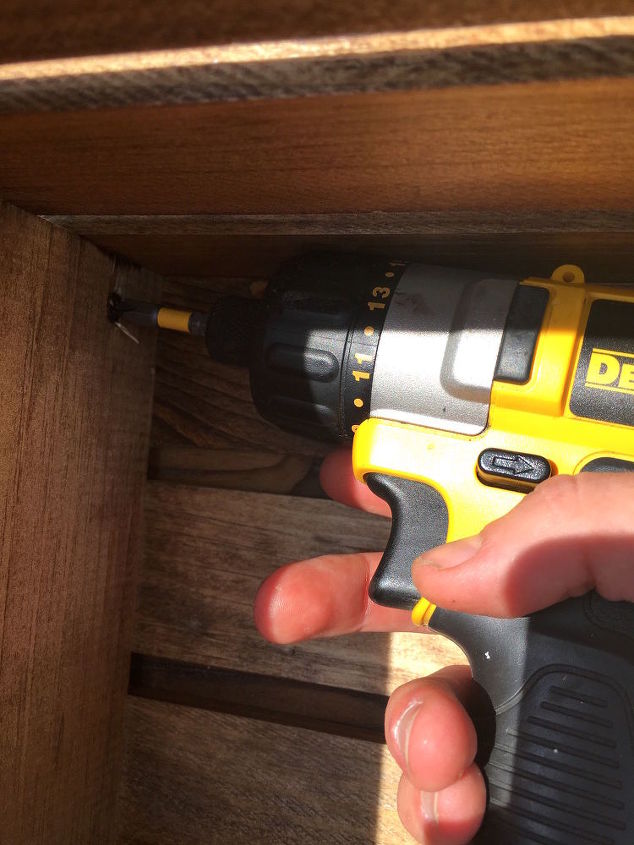
*FAIL ALERT! You don’t want to have your screw go completely in until the drill stops, because you’ll experience cracking like this! You need only to drill the screw until it is flush with the crate, and no more.
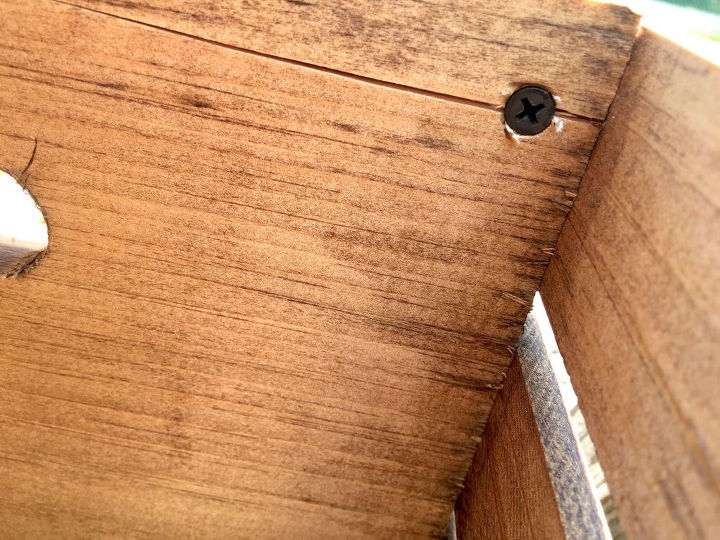
Here is how the bottoms of your crates should look from underneath. Check out those perfectly flush screws!
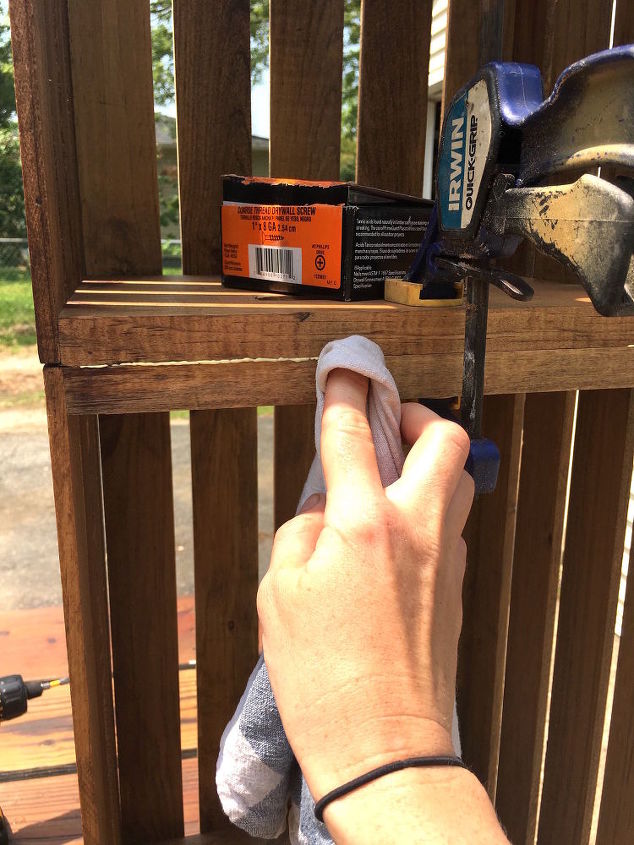
STEP 4: Clean off Excess Glue Next, take a rag and wipe off any wood glue that seeped through between the crates. You’ll want to get rid of it before it dries, or it could ruin the clean, finished look of your organizer.
STEP 5: Stain Your Crates The next step is optional. I fell in love with the copper-colored wire baskets I picked up from JoAnn’s but once I put the Danish oil on the crates, I wasn’t happy with the way the wood color looked with the baskets. I decided to try an experiment and applied weathered gray wood stain over the Danish oil (once the oil had dried).
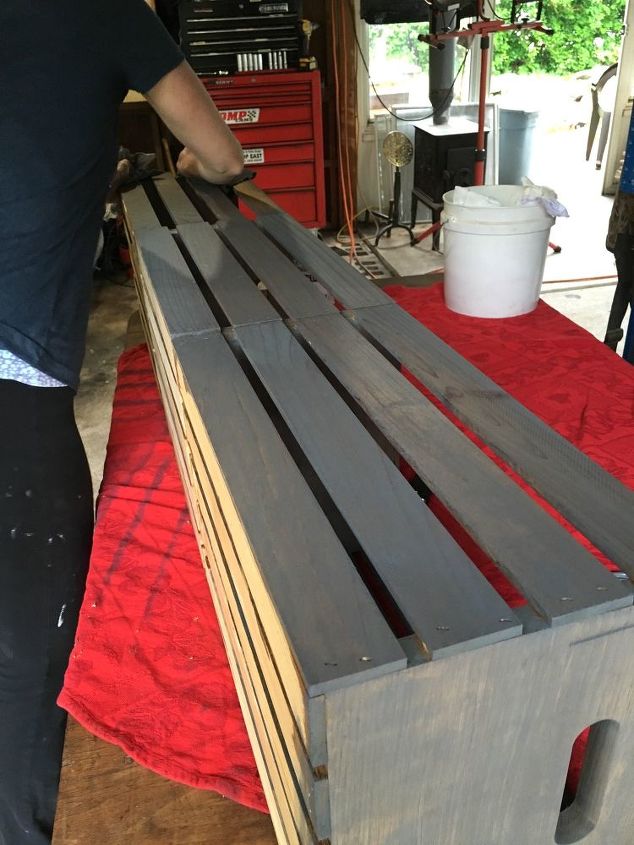
I applied the stain with a rag…
…then wiped it off with another rag.
Gorgeous, right? And you haven’t even seen how easy this is to do, yet. Let’s just say your cluttered entryway is about to be very grateful.
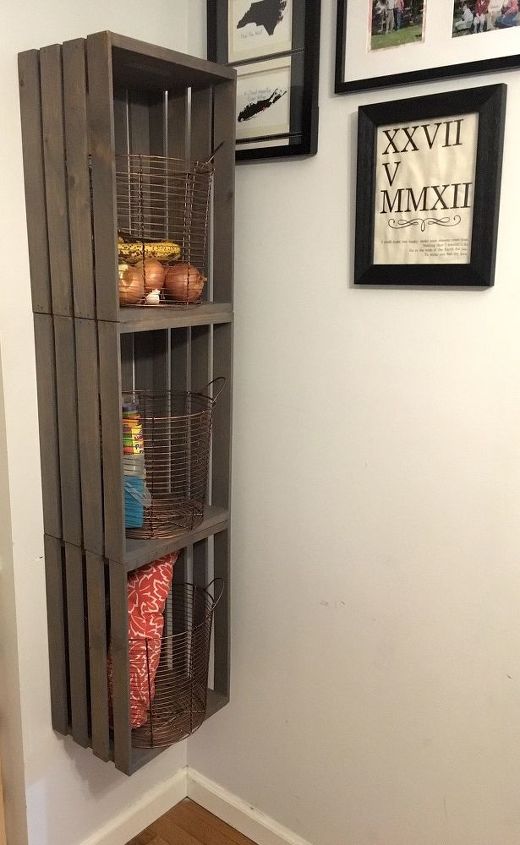
I’m so very happy with how this storage unit came out! I live in a small, two bedroom house so extra storage space is always helpful. I hope you enjoy it too!
Step by step tutorial: Here