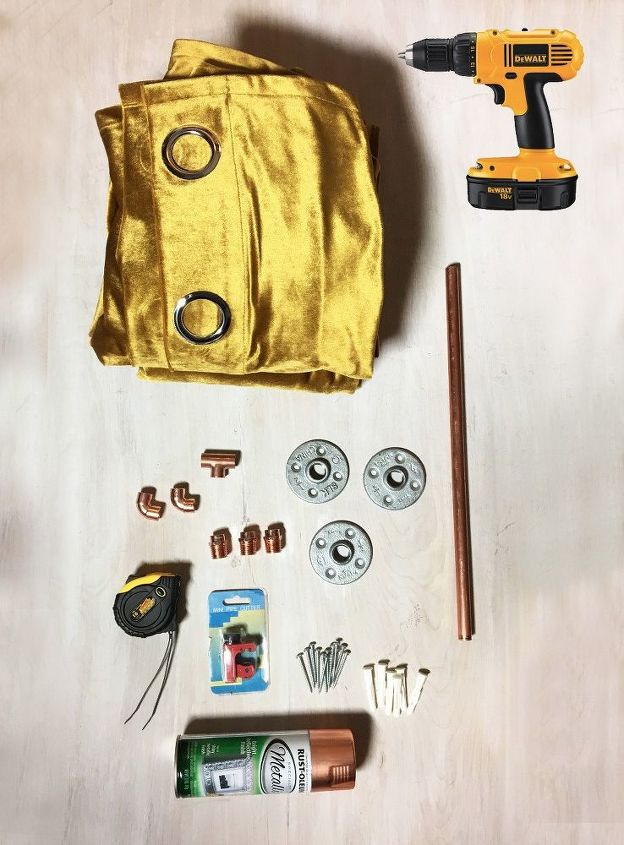
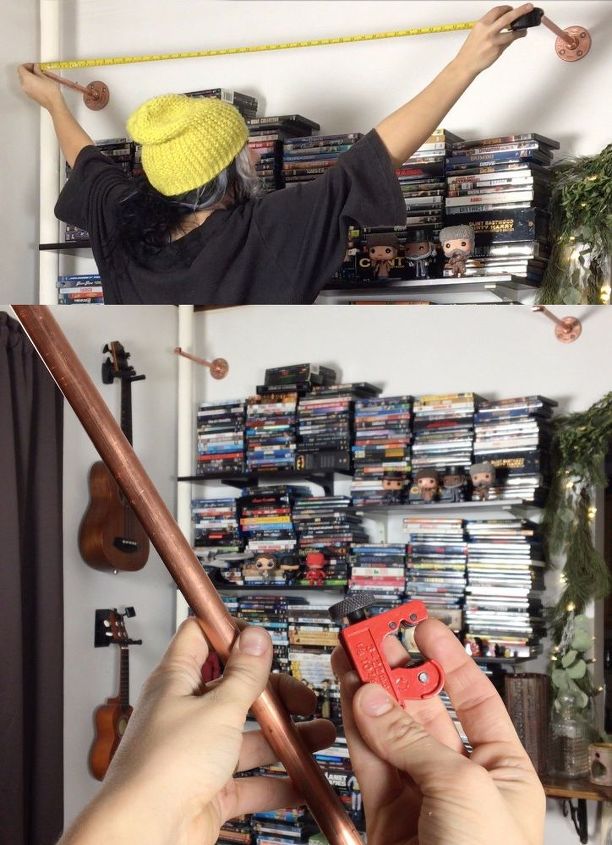
 STEP 2: Measure your unit Measure the depth of your shelving unit and cut 2 pieces of pipe the same length, so that the curtain rests away from the wall and covers the protruding shelves. For instance, my shelves had a depth from the wall out of 10″ so I cut 2 pipes this length for either side.
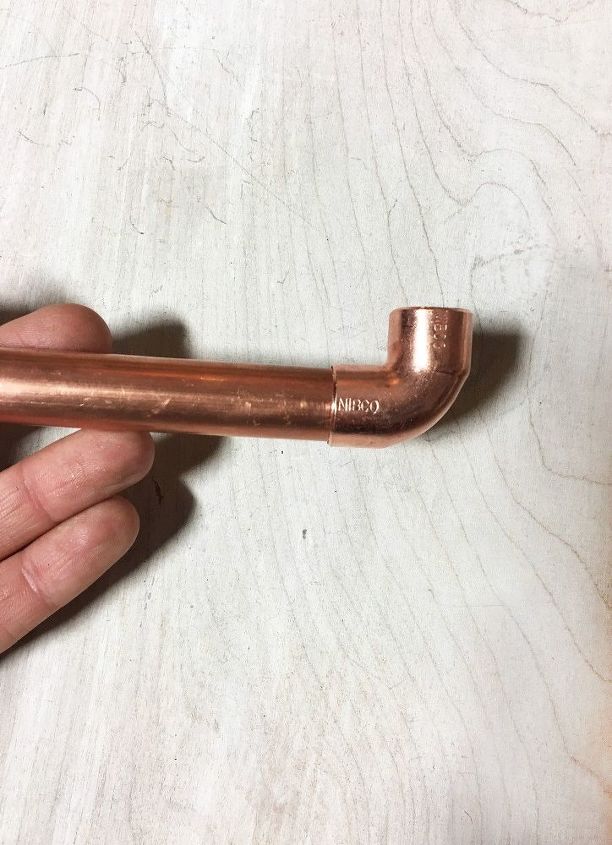
 STEP 3: Attach the 90° elbows Take each of the pipes you just cut and attach your 90° elbows to one end of each.
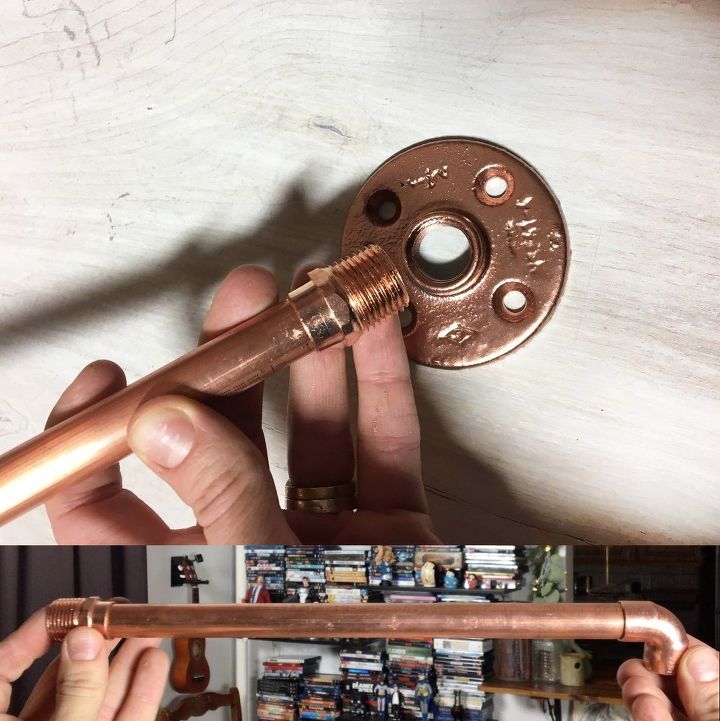
 STEP 4: attach the male fitting With the same 2 pieces of pipe attach the copper male fitting to the opposite end from the one with the elbow from step 3. These will later be screwed into the flanges once they are attached to the wall.
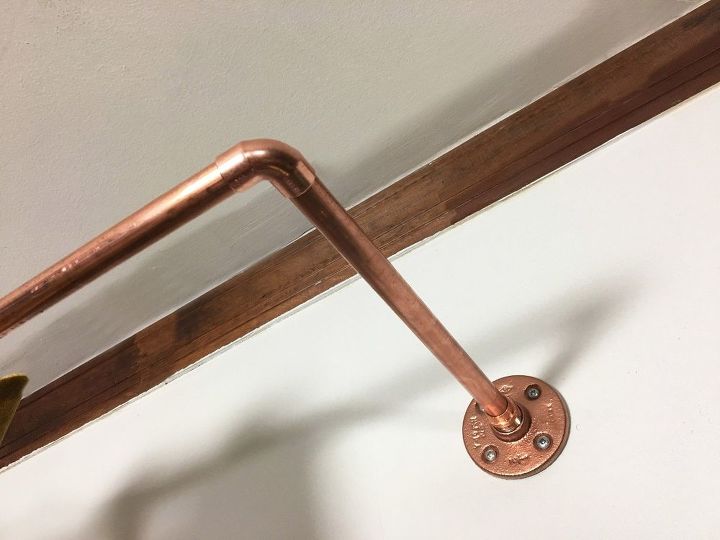
Each piece should look like the bottom image at this point.
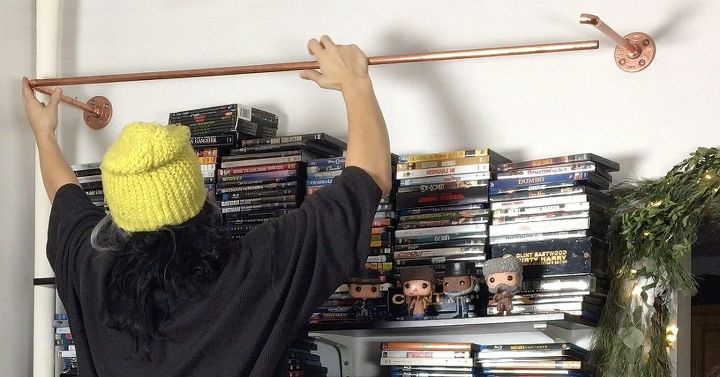
 STEP 6: Screw your flanges to the wall Once you have all your anchors in place screw your flanges to the wall and attach your pipe combination by screwing in the male fitting to the flange. Make sure the 90° elbows are facing in toward one another.
Use this measurement to cut out a piece of pipe. This will serve as the center rod for your curtains.
 STEP 8: Secure the pipe Take the pipe you just cut and secure it between the two combos you have attached to the wall by placing the ends of the pipe into the elbows on either side.
*Don’t secure it too tightly just yet as you will need to place your curtains on it. You do need to make sure that it fits nicely at this point though.
 At this point your pipe should look like the above photo on either side.
 STEP 9: Attach your curtains Take your long rod down and feed your curtains onto the rod and place it back up in between the two pipe ends.
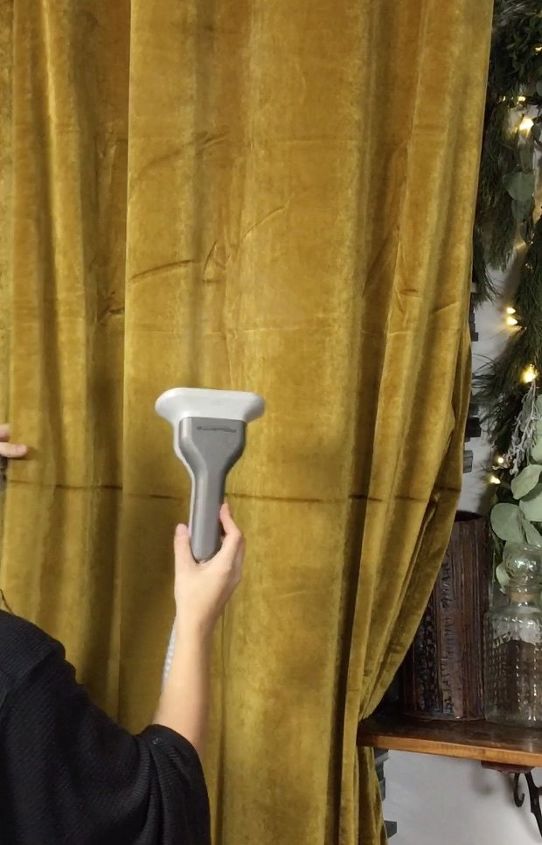
 STEP 10: Steam your curtains For a nice flowing curtain steam them to get out any creases. Especially with these velvet curtains, this steamer was really useful.
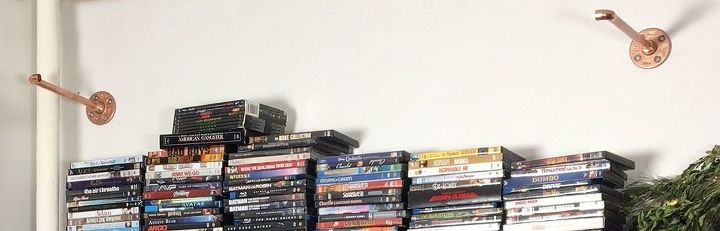
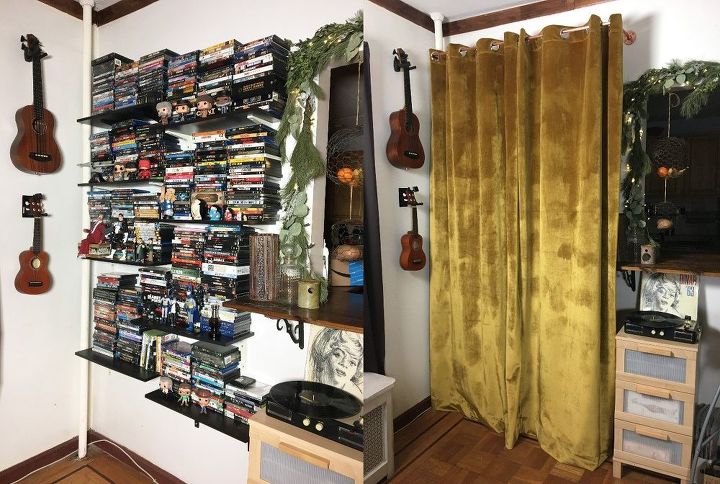
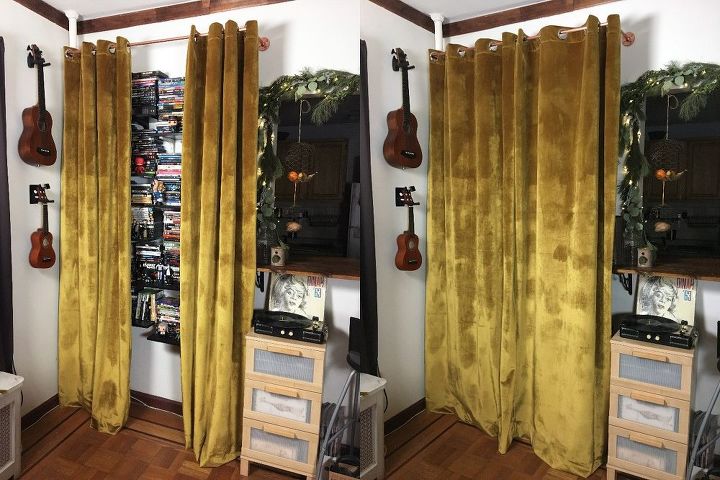
 Here is a before and after of the space. I am not sure how I feel about these curtains just yet, but my husband loves them!
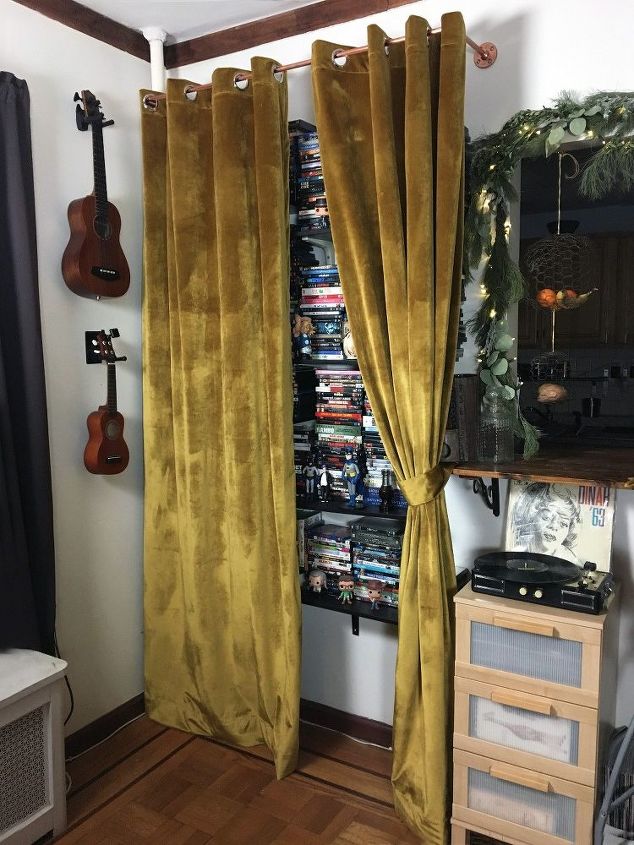
I kind of like letting the movies peek out from behind the curtains.
 This corner does certainly look pretty epic now. I need to update some things around it so that it is fitting, but it is nice to have the clutter covered.
Want more details about this and other DIY projects? Check out my blog post! GO