 STEP 3: Cut pleats
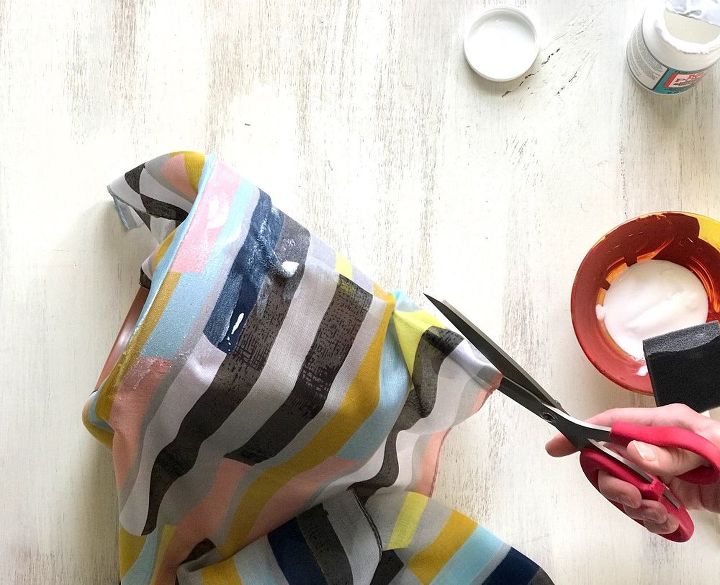
I’m not sure if pleating would be the correct way to put it but
because the pot was curved, my scarf naturally wanted to curve as well; however,
I wanted my stripes to be as straight as possible. I experimented (and decided it was the best bet to keeping the lines straight) by making a cut where I noticed the scarf wanted to start looking like it was going downward (hope that makes sense!). This way, I could essentially overlap the cut parts so the lines appeared as if they were continuing in a straight line.
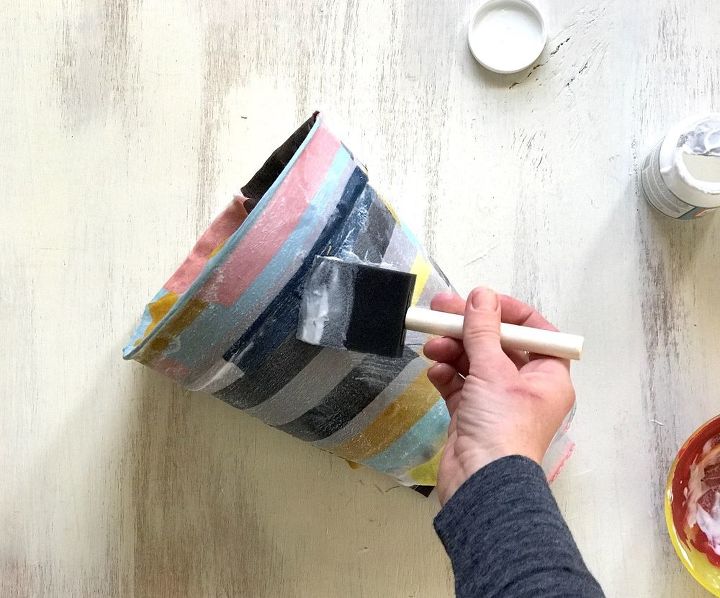
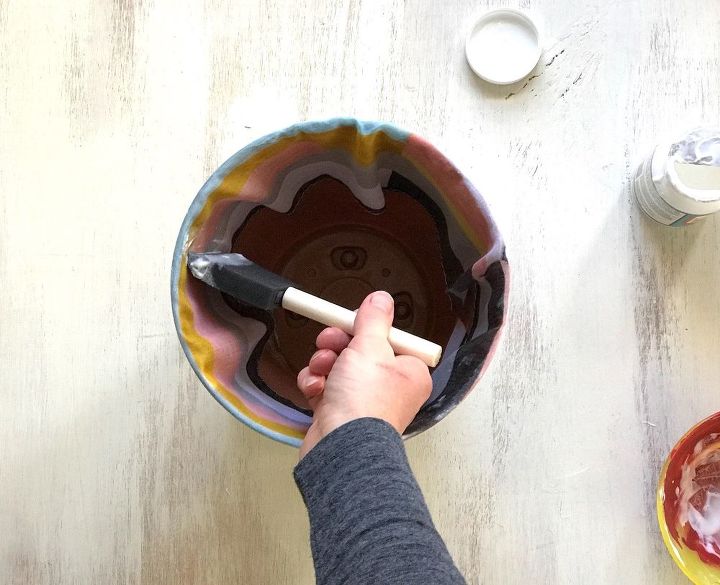
STEP 4: Mod Podge the inside and bottom Once the outside of my pot was covered and I was satisfied with how it looked, I repeated steps 2 and 3 on the inside. I didn’t go all the way to the bottom on the inside with the scarf because I was going to be filling it and no one would be looking inside it anyway so I saved myself the extra time and effort. When I completed the inside, I carefully flipped my pot on its top and did the same steps for the outside bottom.
STEP 5: Let dry overnight When I flipped my pot on its top to finish the outside bottom, I placed it on an upside down vase to ensure that the Mod Podge wouldn’t dry and that it wouldn’t stick to my work surface. I only applied one heavy coat of Mod Podge to the entire pot and let it dry overnight. You can add more coats once each coat dries but I felt that one was sufficient for my thin scarf.
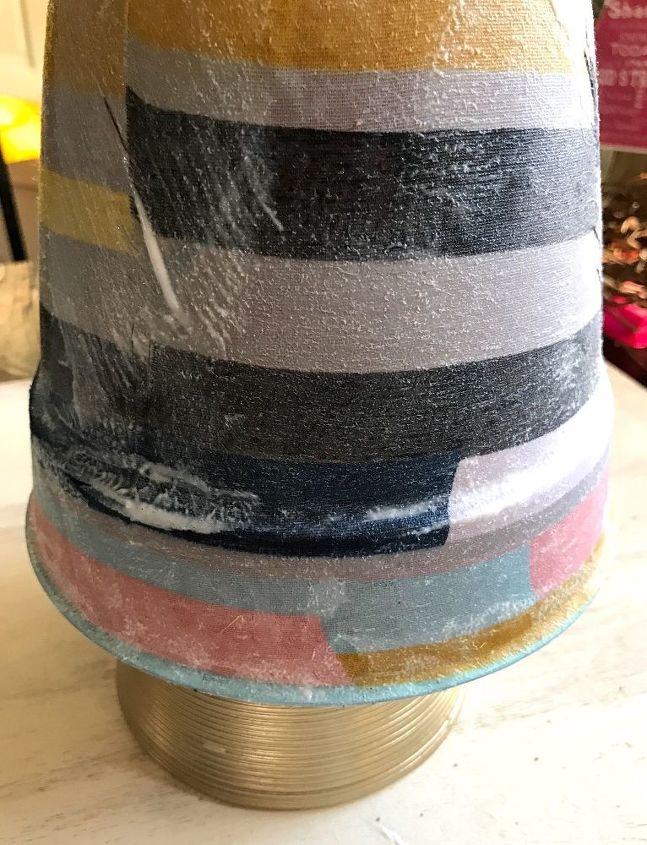
This cute little Keurig cup holder/pot definitely isn’t perfect but I love how it almost appears to be somewhat of a patchwork pattern, and I LOVE LOVE LOVE the colors.
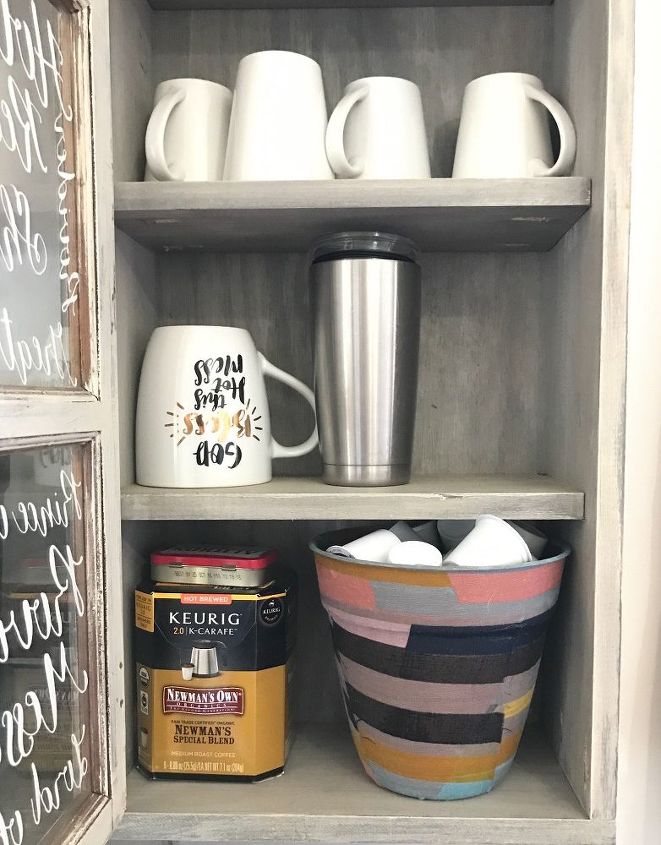 Due to material of the scarf, there were threads that pulled out where I cut the pleats as I was applying the Mod Podge, and I tried to cut them but I knew my efforts were going to be pointless, so I let them be and accepted this project as an artsy, funky piece.