 Now that it has legs, it’s a headboard (or at least beginning to take the shape of one). I checked for level and all was good. Next I pulled off the legs for staining, and once dry I re-attached them. Look at that goob with the crooked hat! 😉
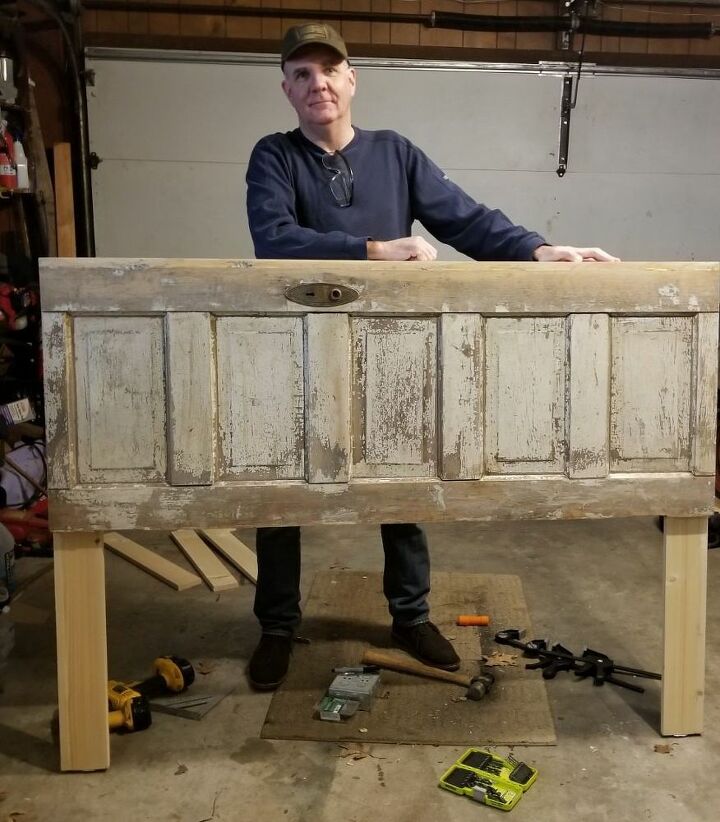 At this point we also marked and drilled the door/headboard for reading lights, I hope to cover them in a separate project
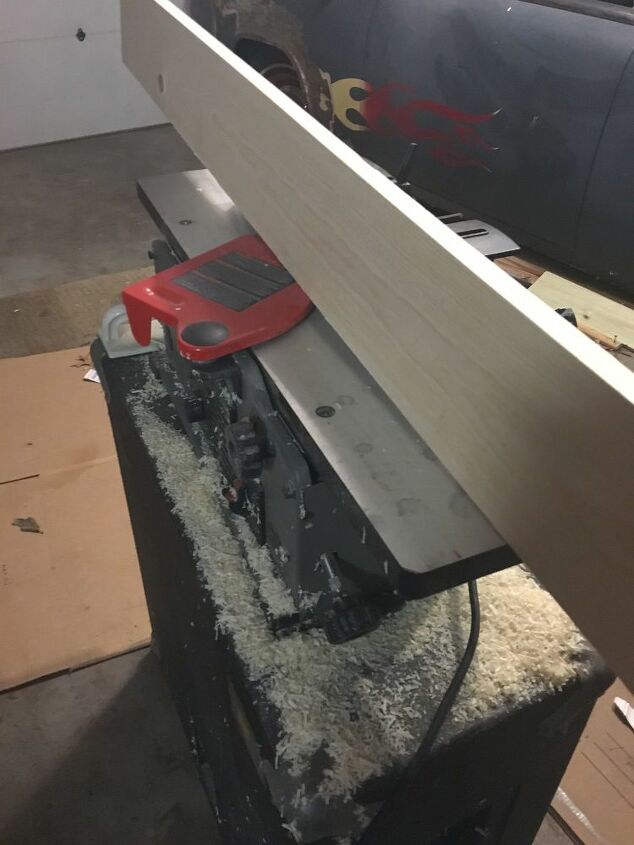
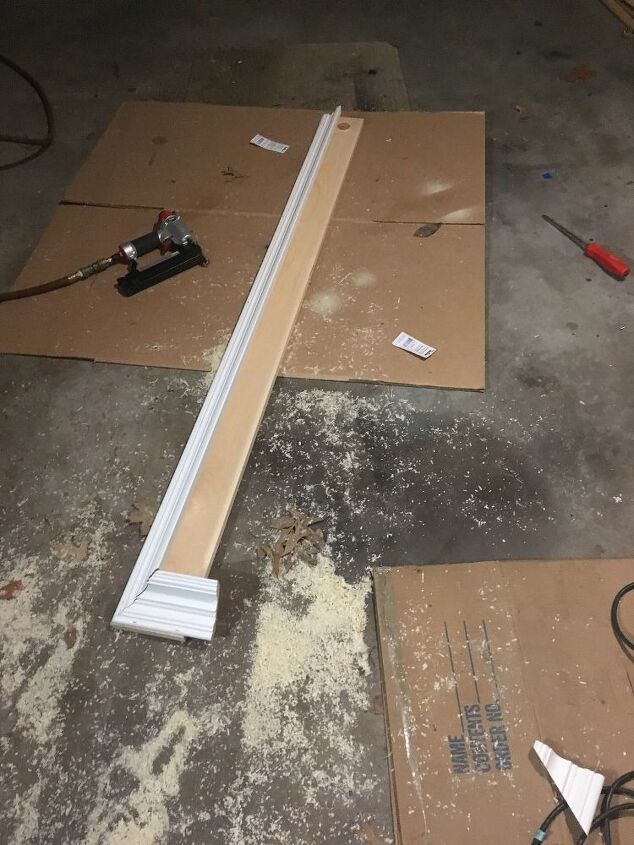
The top shelf was made out of a 1×6 and a 1×4, both cut to length. I planed off the rough edges.
 I measured and cut crown molding and stapled to the shelf (note the shelf/molding is upside down in this photo) This door already had a shelf attached I had to deal with.
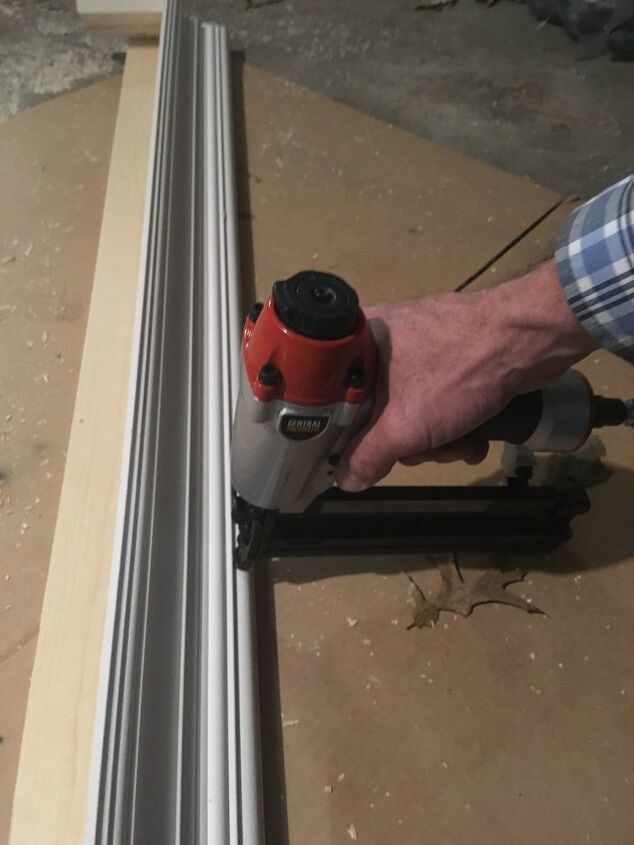
 Here is the crown molding stapled to the 1×6, the 1×4 is not yet added, but same process. I went a step further and glued the 1×6 to the 1×4 where they met along the back edge of the 1×6 (shown in a later photo). Crown is tough to get your head wrapped around, spend some time on youtube, and don’t be afraid to use a Sharpie to mark your cuts BEFORE you make them, trust me on this .
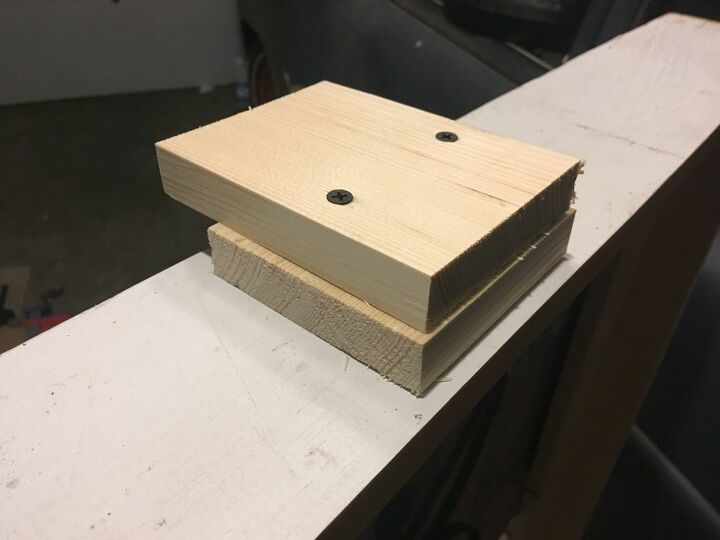
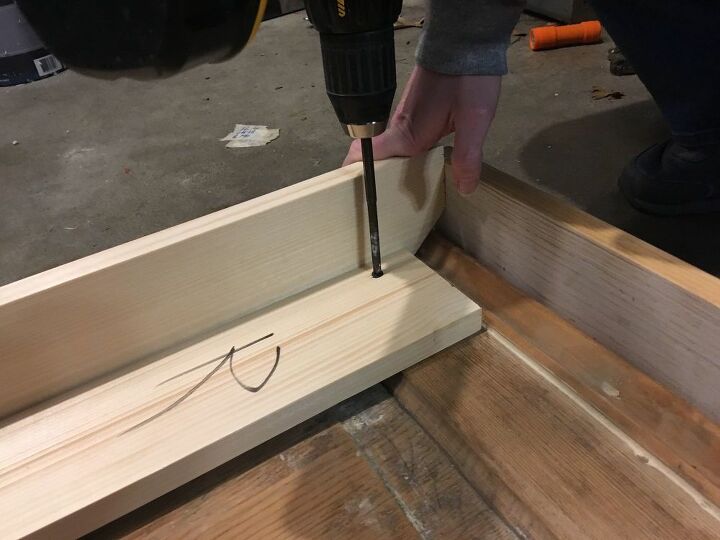
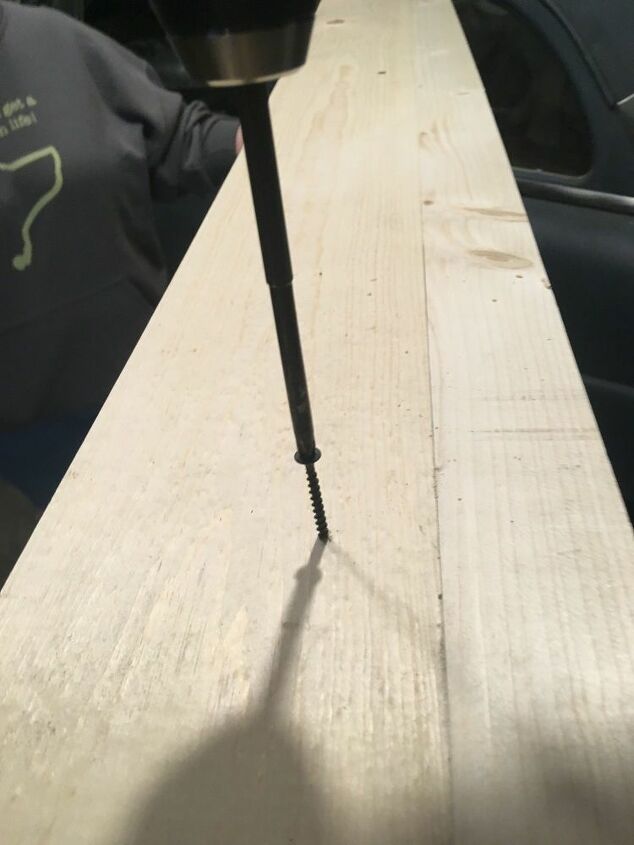
Added a couple of 1×4 scraps as spacers to each side to the top of the door to lift the shelf an addition 1.5″
 I attached the shelf to the spacers with two No. 6 x1.5″ screws. Here you can see the joint prior to sanding and paint where the two boards mentioned earlier were glued together.
The shelf was removed for delivery, and crackle painted by the new owner to match the vintage door
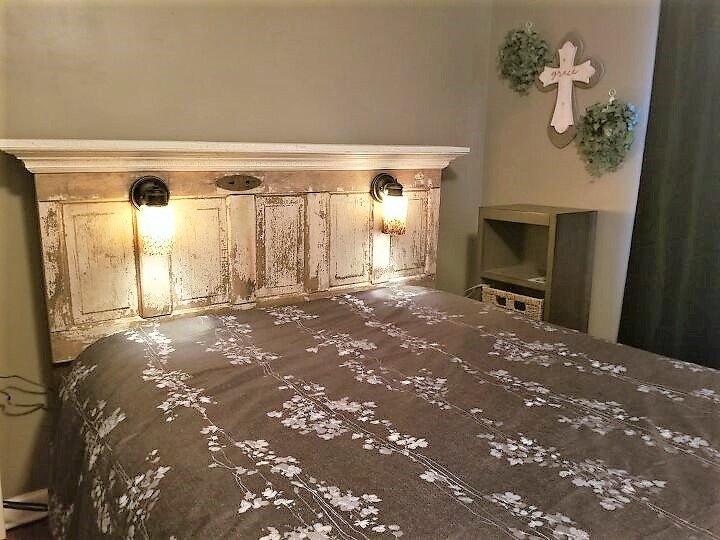 Shelf re-installed, and here’s the finished headboard with crackle paint on the shelf and crown molding. We bolted the whole thing to the bedframe with four ea. 1/4-20×1.5″ bolts, with 1/4″ fender washers, lockwashers, and nuts. It looks great in the new owner’s spare bedroom. Your cost will change depending on what you spend for a door. Est below does not include the lamps etc, but we put them on for under $40 with electrical parts included. Comment if you have ideas to make the next one better
There wasn’t room to include the lights in this project, I hope to post them later
Want more details about this and other DIY projects? Check out my blog post! GO