 Be sure to visit the original blog post to capture a video of the ‘chaos…’
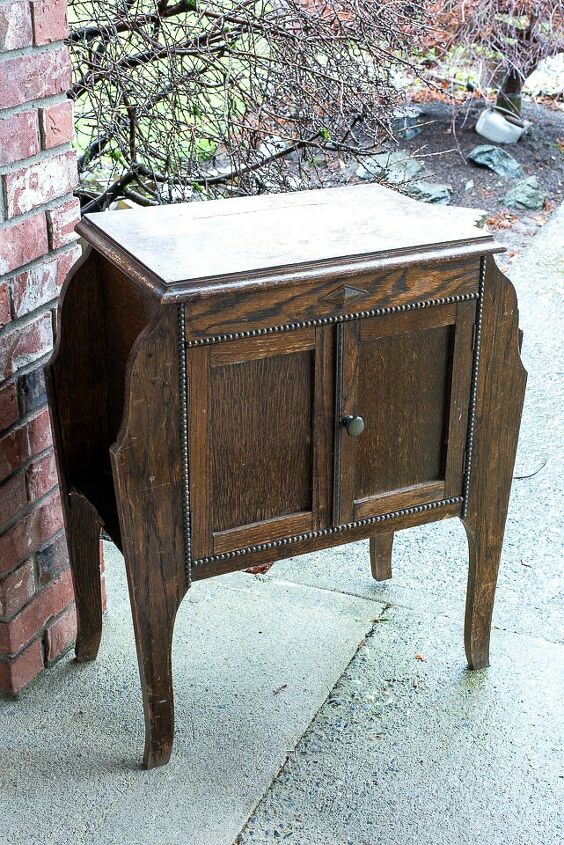
Oh hello cuteness! I love your lines, but your wood sure is beat up and even broken in areas! Let’s fix you up a little…
 I first sanded the piece to allow the next treatment planned to have a little more ‘tooth’ to grab.
Tip: This is an important ‘safe’ furniture prep step that helps guarantee a great re-paint, regardless of what paint you use.
Then I started to paint. Let’s try white!
But then I didn’t like it. So I changed it to black.
But then I had a new brainstorm, so I changed it to white… egads!
But as you can soon see, it didn’t stay that way either!
 The original blog post shows you a comical video of this back and forth chaos. Be sure to visit HERE to check it out.
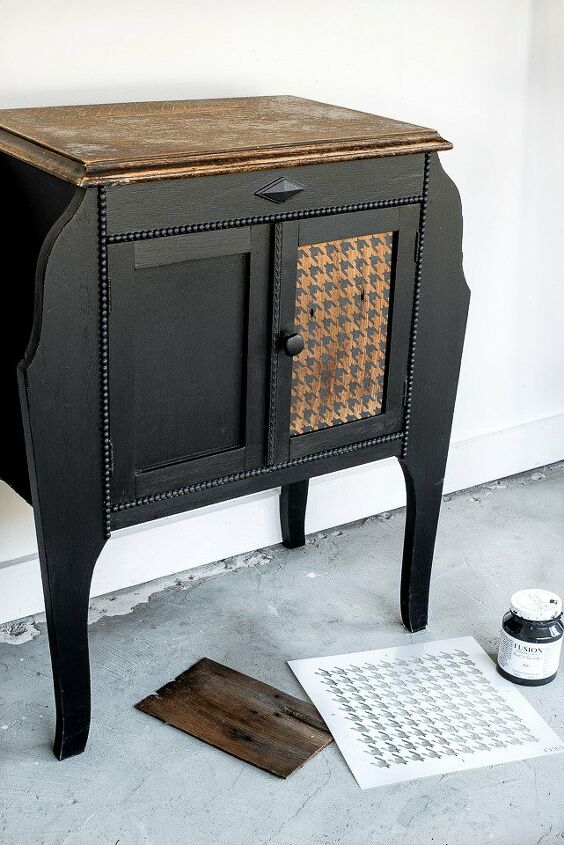
Knowing what my base would be, I decided to use a shingle and a Houndstooth stencil to add some custom quirk to those doors!
Stencil is Houndstooth – small from Funky Junk’s Old Sign Stencils HERE
Next up, I used Fusion Mineral Paint’s Coal Black to paint the base, then Ash to stencil Houndstooth onto the panels.
Then I slipped the shingle into place and stood back… oh yes… I liked this very much.
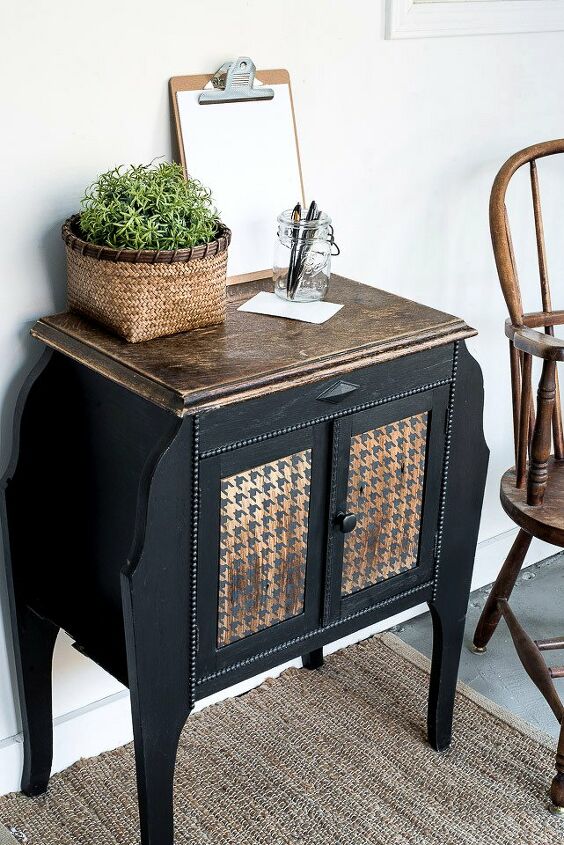
Then, oh my goodness… look out stately you look all dressed up in that houndstooth you spiffy rustic piece you…
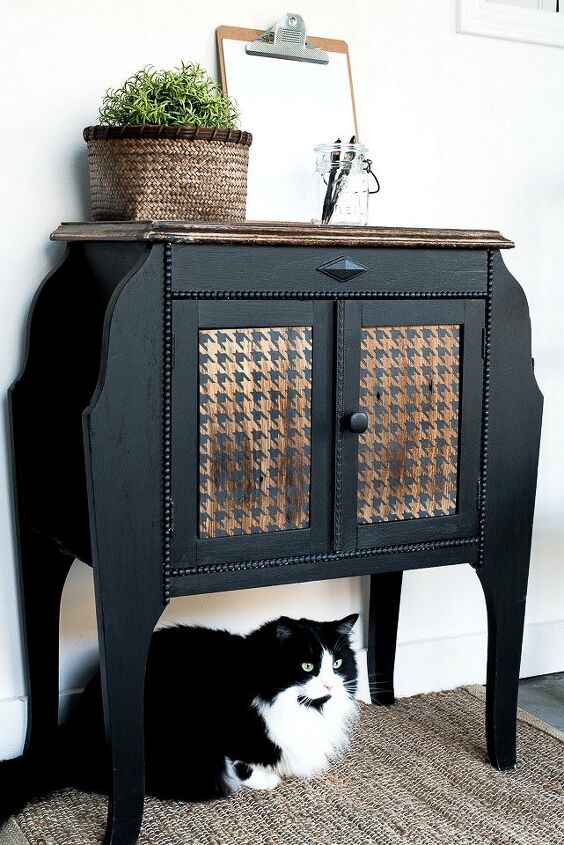
With full-out kitty approval, this little makeover is now my BFF and I can even change my mind about the panels as desired!
Click the blog link below to the full tutorial, stencil links, AND that chaotic video! I know you’ll get it…
What do you think of the new look and the changeable panel idea?
Want more details about this and other DIY projects? Check out my blog post! GO