 I attached this using liquid nails and held it in place with weights for it to adhere. Don’t worry about any gaps those will be fixed with caulk later.
Next I cut, painted and added the sides using a nail gun to hold them in place.
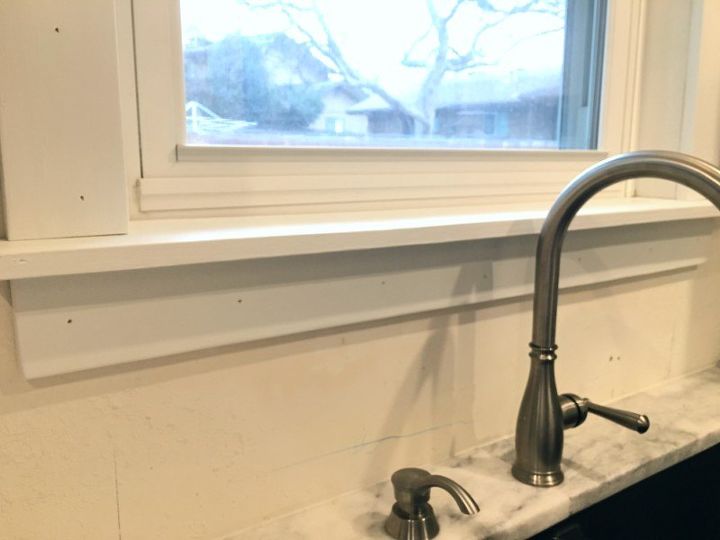
 I measured the width with the sides now attached and this was my measurement for the bottom piece.
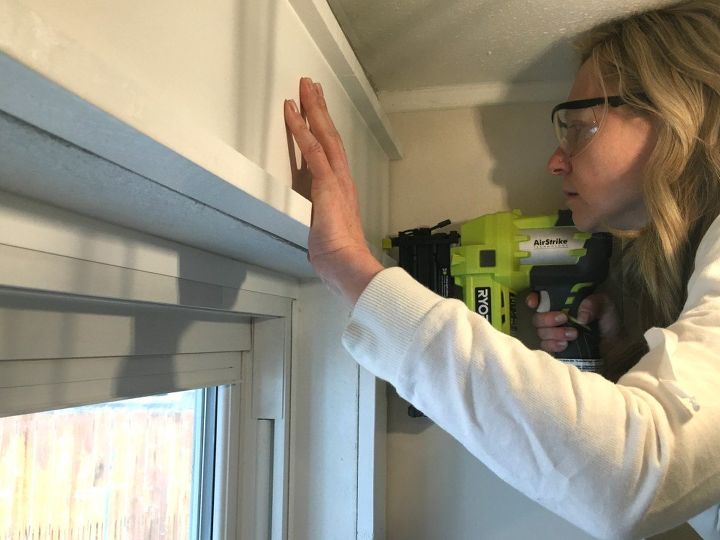
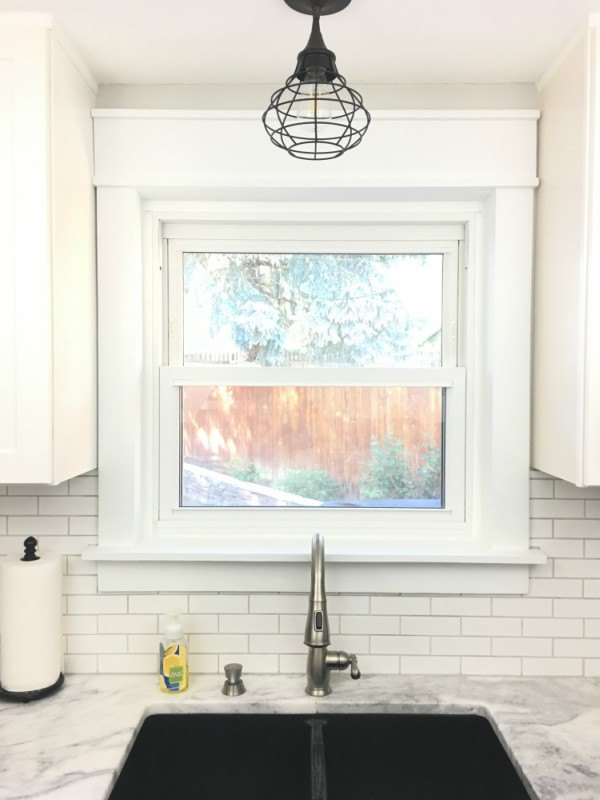
Now it was time to make the header (top piece). I constructed it before nailing it to the wall.
Then I painted the header, placed it above the sides and nailed it to the wall.
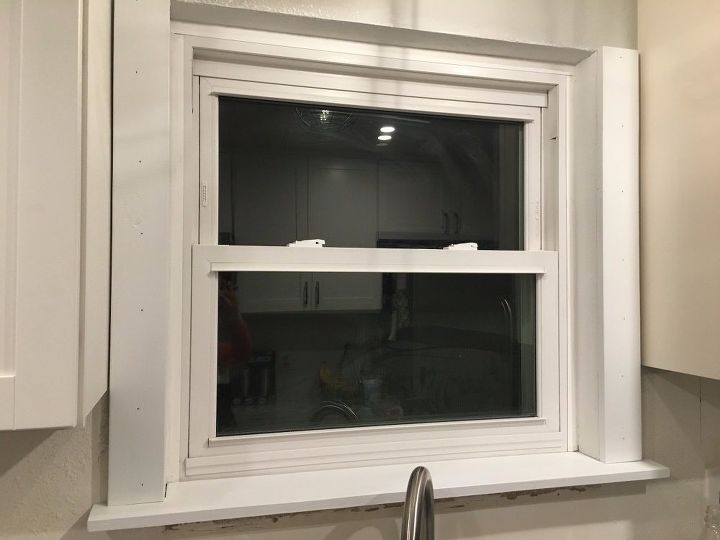
 After all pieces were up and the nailing was completed, I caulked all the gaps and the nail holes and touched it up with paint.

To see the complete tutorial come visit the link below.
 Looking for another kitchen project? This post shows you how to easily add more space to your cabinets with these Custom Made Cabinet Shelves.
Or try out this easy project and make a Modern Farmhouse Wood Tray. This goes perfect above my refrigerator.
Happy Building,
Tiffany
Want more details about this and other DIY projects? Check out my blog post! GO